We look forward to bringing you visibility and insight into what’s happening within the cabs of your vehicles and out on the road!
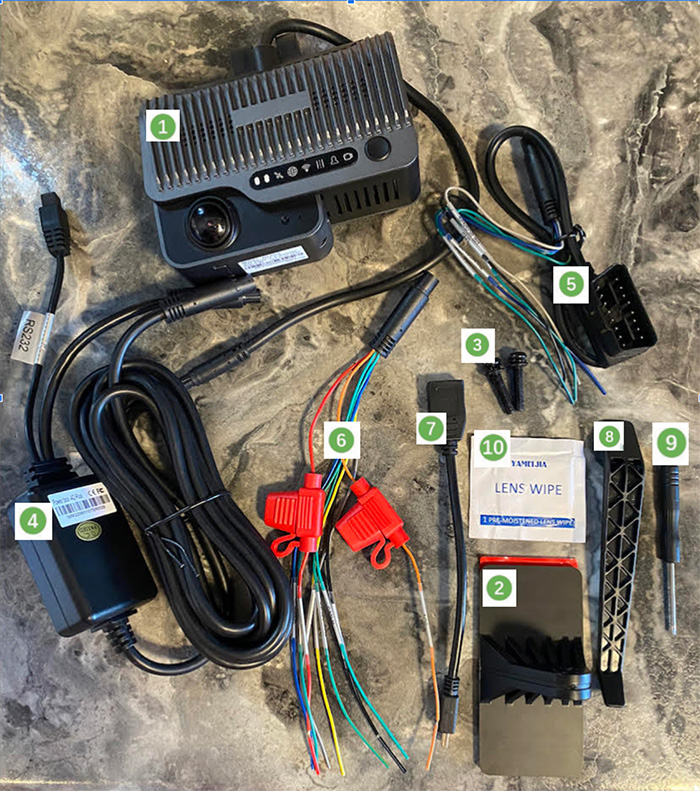
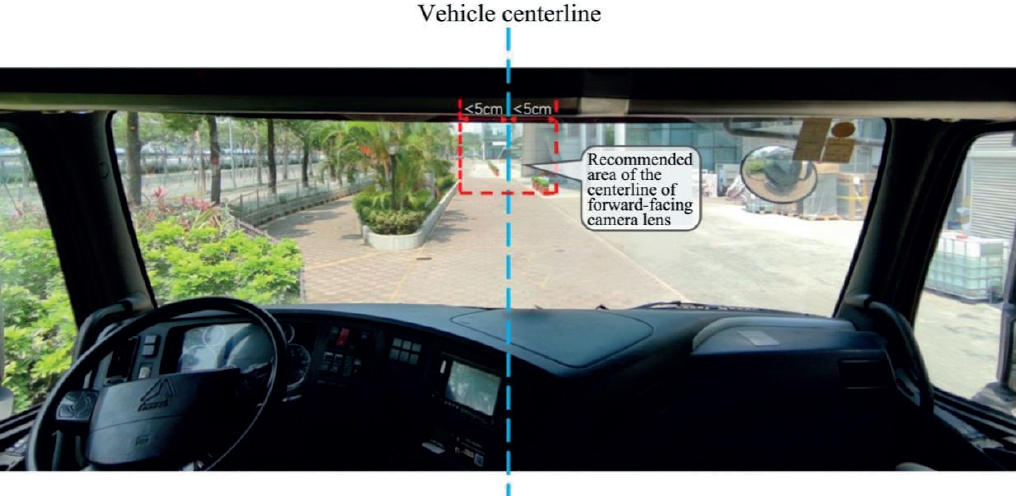
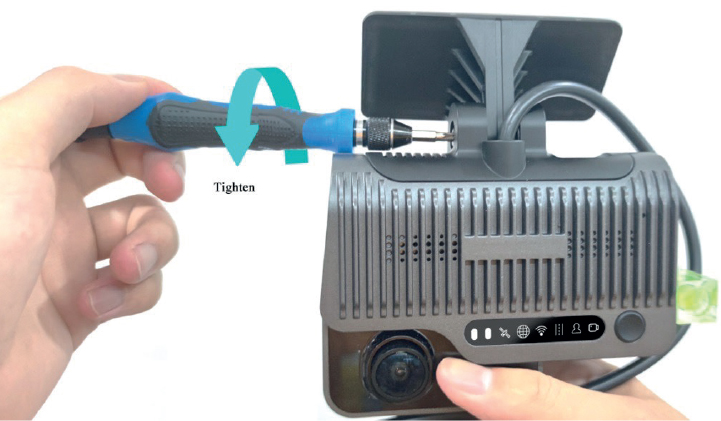
figure a:

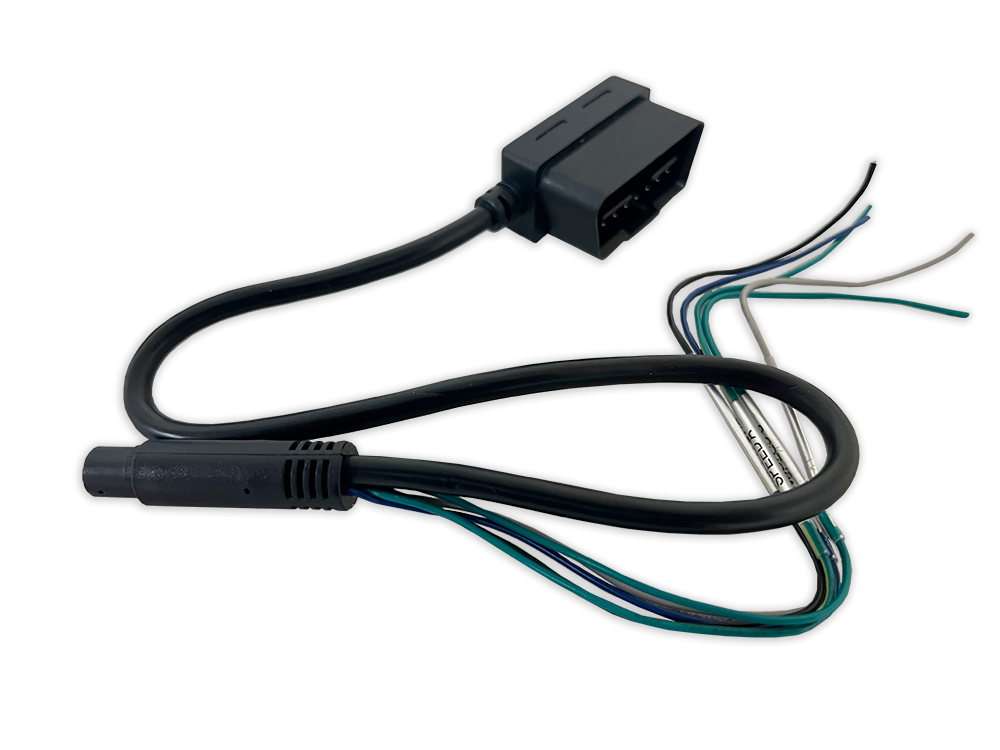
figure b:
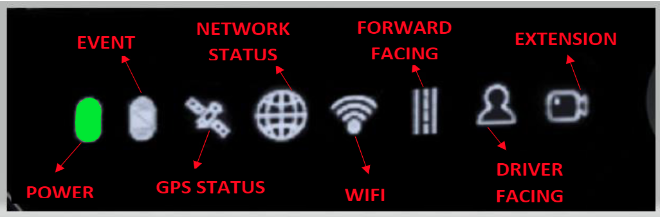
Upon vehicle Ignition ON, you should see power to both the tracking device and camera. The green “power” light on the left of the camera near the interior lens will illuminate.